A premium synthetic lawn adds comfort, visual appeal, and long-term value to your home. You want reliable results, especially when you’re investing in luxury turf rather than settling for a basic product. A strong installation process ensures your lawn looks refined, handles daily use, and maintains its structure for years.
If you’ve explored how to install synthetic turf on your own, you already know the steps can seem simple online but rarely go that way in reality. Small oversights, like improper grading or incorrect seam joining in turf installation can shorten your lawn’s lifespan. The Ultimate Guide to Luxurious, Low-Maintenance Synthetic Turf Lawns is a reminder that expert installation plays a major role in long-term performance. That’s why you benefit from knowing what happens during a professional artificial turf installation process step by step and why quality work matters.
Below, you’ll find a clear and honest breakdown of this process, including what you can expect, how long each stage typically takes, and why ForeverLawn of the Carolinas brings dependable craftsmanship to every project.
Why Installation Matters (Especially For Luxury Lawns)
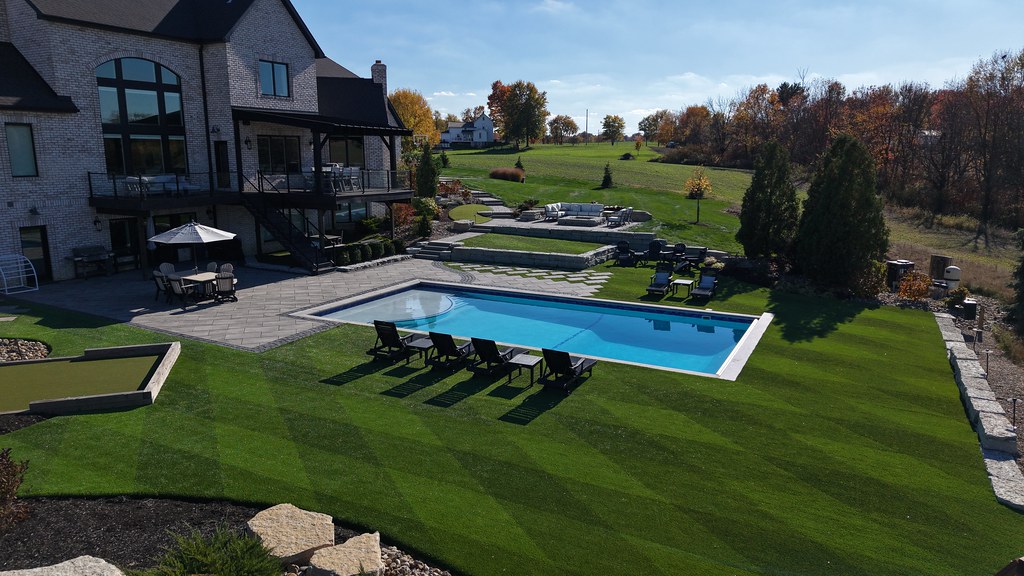
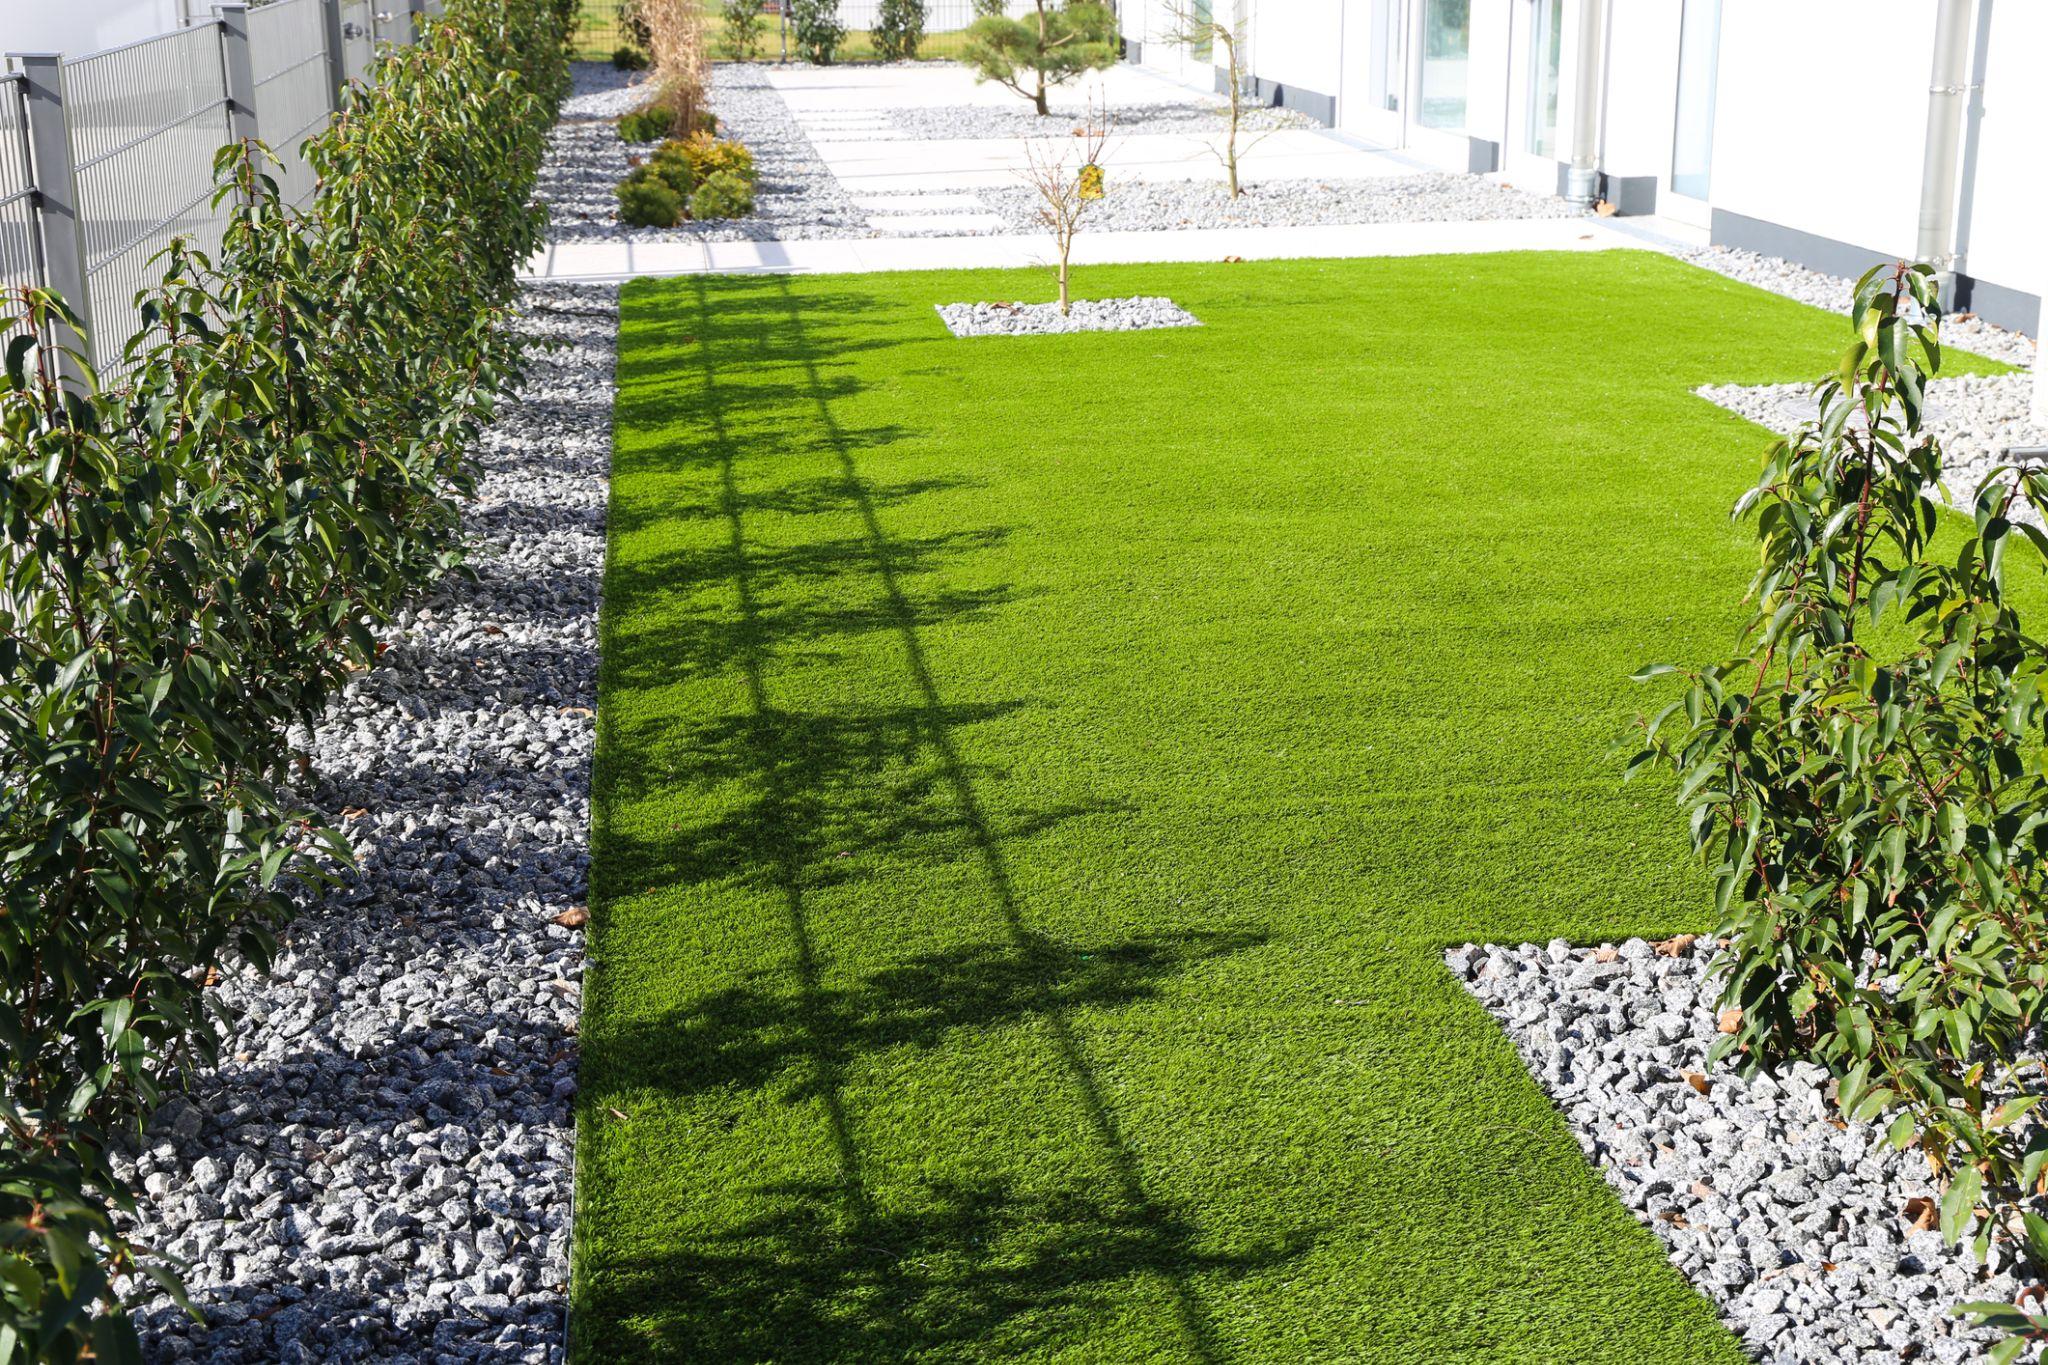
Luxury homeowners often choose synthetic turf for its consistency, comfort, and clean appearance. But even the highest-end materials need proper handling. Without correct grading, compacting, or a reliable synthetic turf drainage system, your lawn may shift, wrinkle, or drain poorly over time.
You’re not just buying an attractive surface, you’re investing in an experience. Your lawn should feel soft, look natural, and stay stable no matter the season. The artificial turf installation process keeps your lawn performing the way it should, and it gives you confidence that the foundation beneath it will support long-term results.
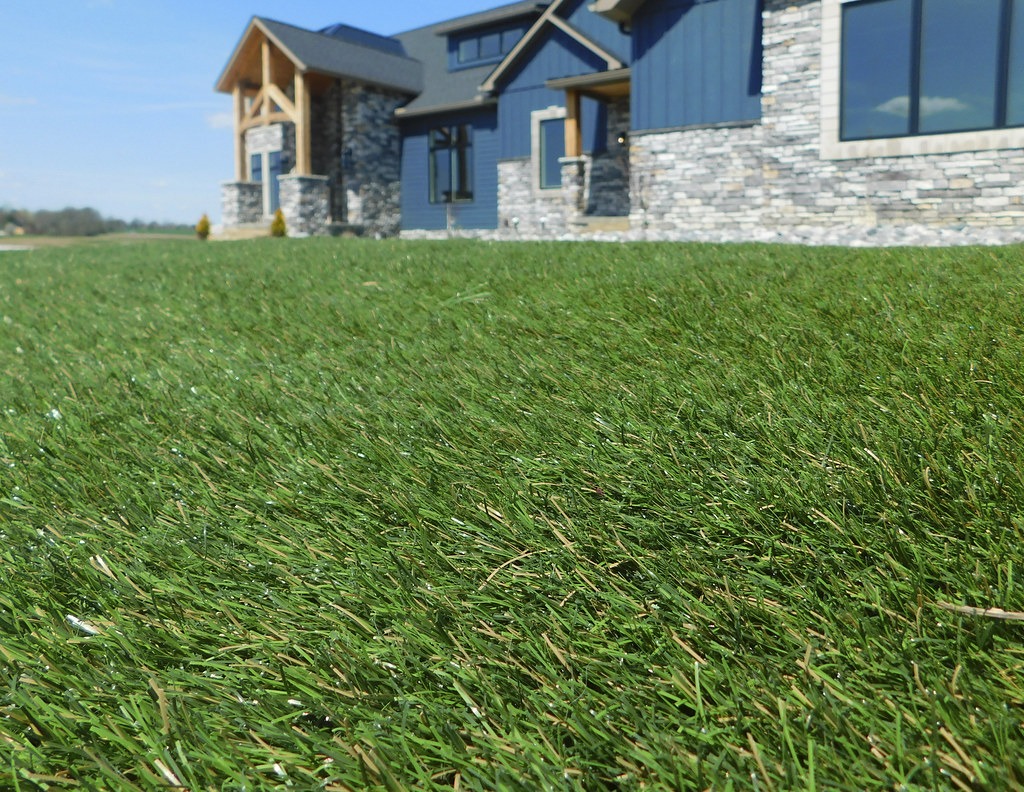
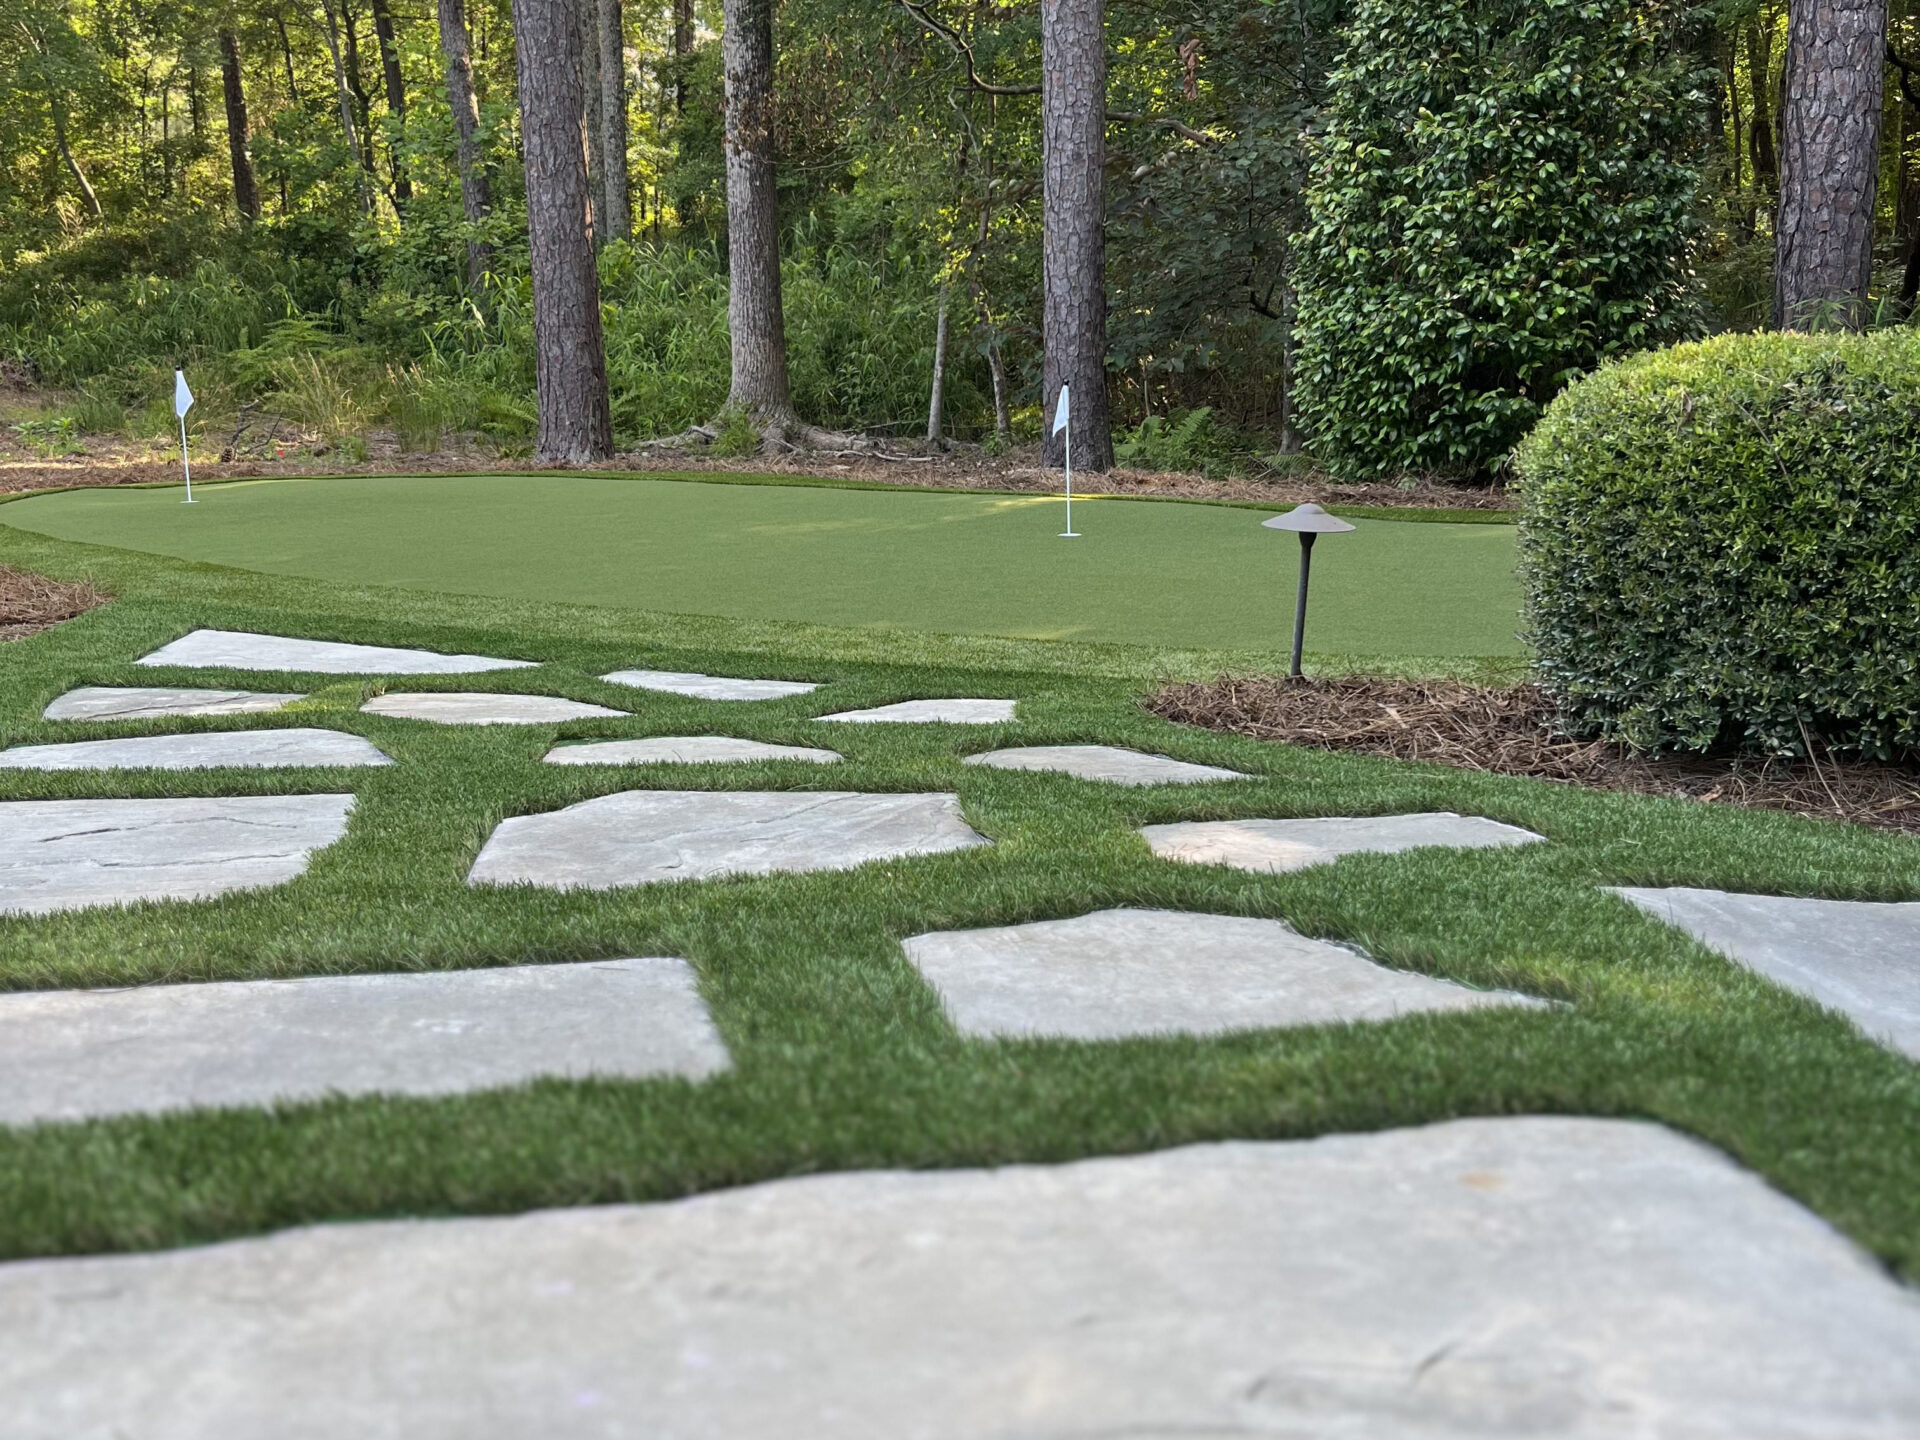
This is where professional expertise matters. Some companies rely on a single product for every job, but luxury homes need tailored solutions. You deserve turf designed for your specific environment – playgrounds, pets, shaded areas, or golf surfaces, not a one-size-fits-all approach. ForeverLawn of the Carolinas uses specialty materials for each application so your lawn fits your lifestyle and maintains a natural look.
Step 1: Site Preparation And Base Excavation
A successful install begins with careful planning. During this phase, your crew evaluates grading, existing soil conditions, and access around the property. Even small details like root depth, irrigation lines, or slope direction affect how your new lawn performs.
What Happens During Preparation
- Removal of existing grass and topsoil
- Checking irrigation systems or utility lines
- Looking for and tying in downspouts
- Measuring the area and planning turf direction
The next part of the artificial turf installation process is base excavation. This involves removing 3–4 inches of soil to create space for the subbase preparation artificial grass requires. High-quality applications demand consistent depth throughout the area, especially when you want enhanced durability and drainage.
Step 2: Setting The Base
Once the ground is cleared and leveled, it’s time for the subbase. This step involves installing a compacted mix of crushed rock or limestone designed specifically for turf installations.
What Your Base Should Include
- A smooth, graded surface
- A stable foundation with minimal movement
- Proper compaction to reduce shifting
- Built-in drainage pathways when applicable
The base creates a synthetic turf drainage system. During this part of the artificial turf installation process step by step, your crew checks slope angles to ensure water flows correctly away from structures. Proper support beneath the turf makes a noticeable difference. We use clean stone, no crushed fines, with a 2-layer stone-based system that stays drainable. The base is built with a 3-inch depth and an additional 1-inch layer on top to create a level surface. Other approaches often aren’t fully drainable, which can affect long-term turf performance.
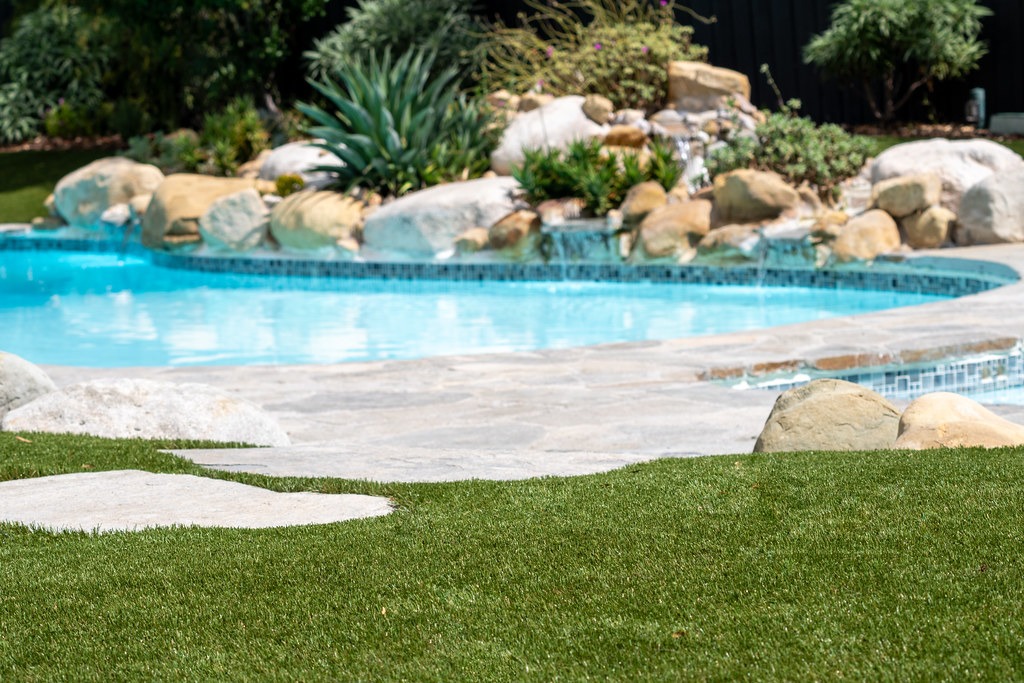
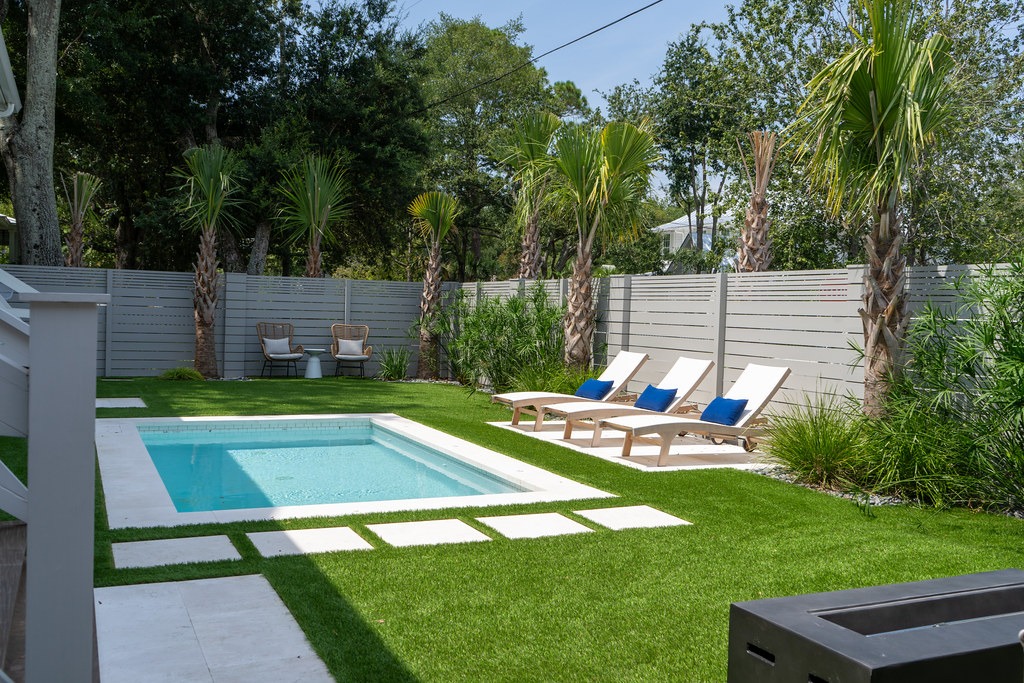
Luxury homes often come with distinct drainage needs, especially around patios, pools, and landscaped areas. A professional installer understands these details and uses products suited to your specific setting.
Step 3: Seam Placement And Adhesive Application
Seams are among the most visible (and often most misunderstood) elements of turf installation. Good seam joining in turf installation keeps your lawn looking consistent and prevents edges from lifting over time.
How Pros Handle Seaming
- Aligning turf panels in the same grain direction
- Cutting clean lines to ensure tight connections
- Securing panels with premium adhesive and seam tape
A DIY install often fails here. Slight misalignment or cheaper materials can cause visible lines or early separation. In luxury settings, where appearance is everything, precision matters.
This stage of the artificial turf installation process step by step also ensures your turf flows naturally across your lawn without abrupt visual breaks. It’s one of the many areas where experience leads to a better outcome.
Step 4: Rolling Out And Securing The Turf
Once seams are prepared, the turf is rolled into place. Each roll is positioned carefully to match the layout created during the planning phase.
During This Stage, You Get:
- Secure perimeter fastening
- Smooth transitions at walkways, borders, and edges
- Controlled tension across the surface to avoid wrinkles
To secure the turf properly, the base structure matters. No landscape spikes are used; instead, we secure the turf with staples to composite plastic boards. Others may rely on spikes, which can loosen over time. We also avoid pressure-treated boards, which decompose faster and reduce long-term stability.
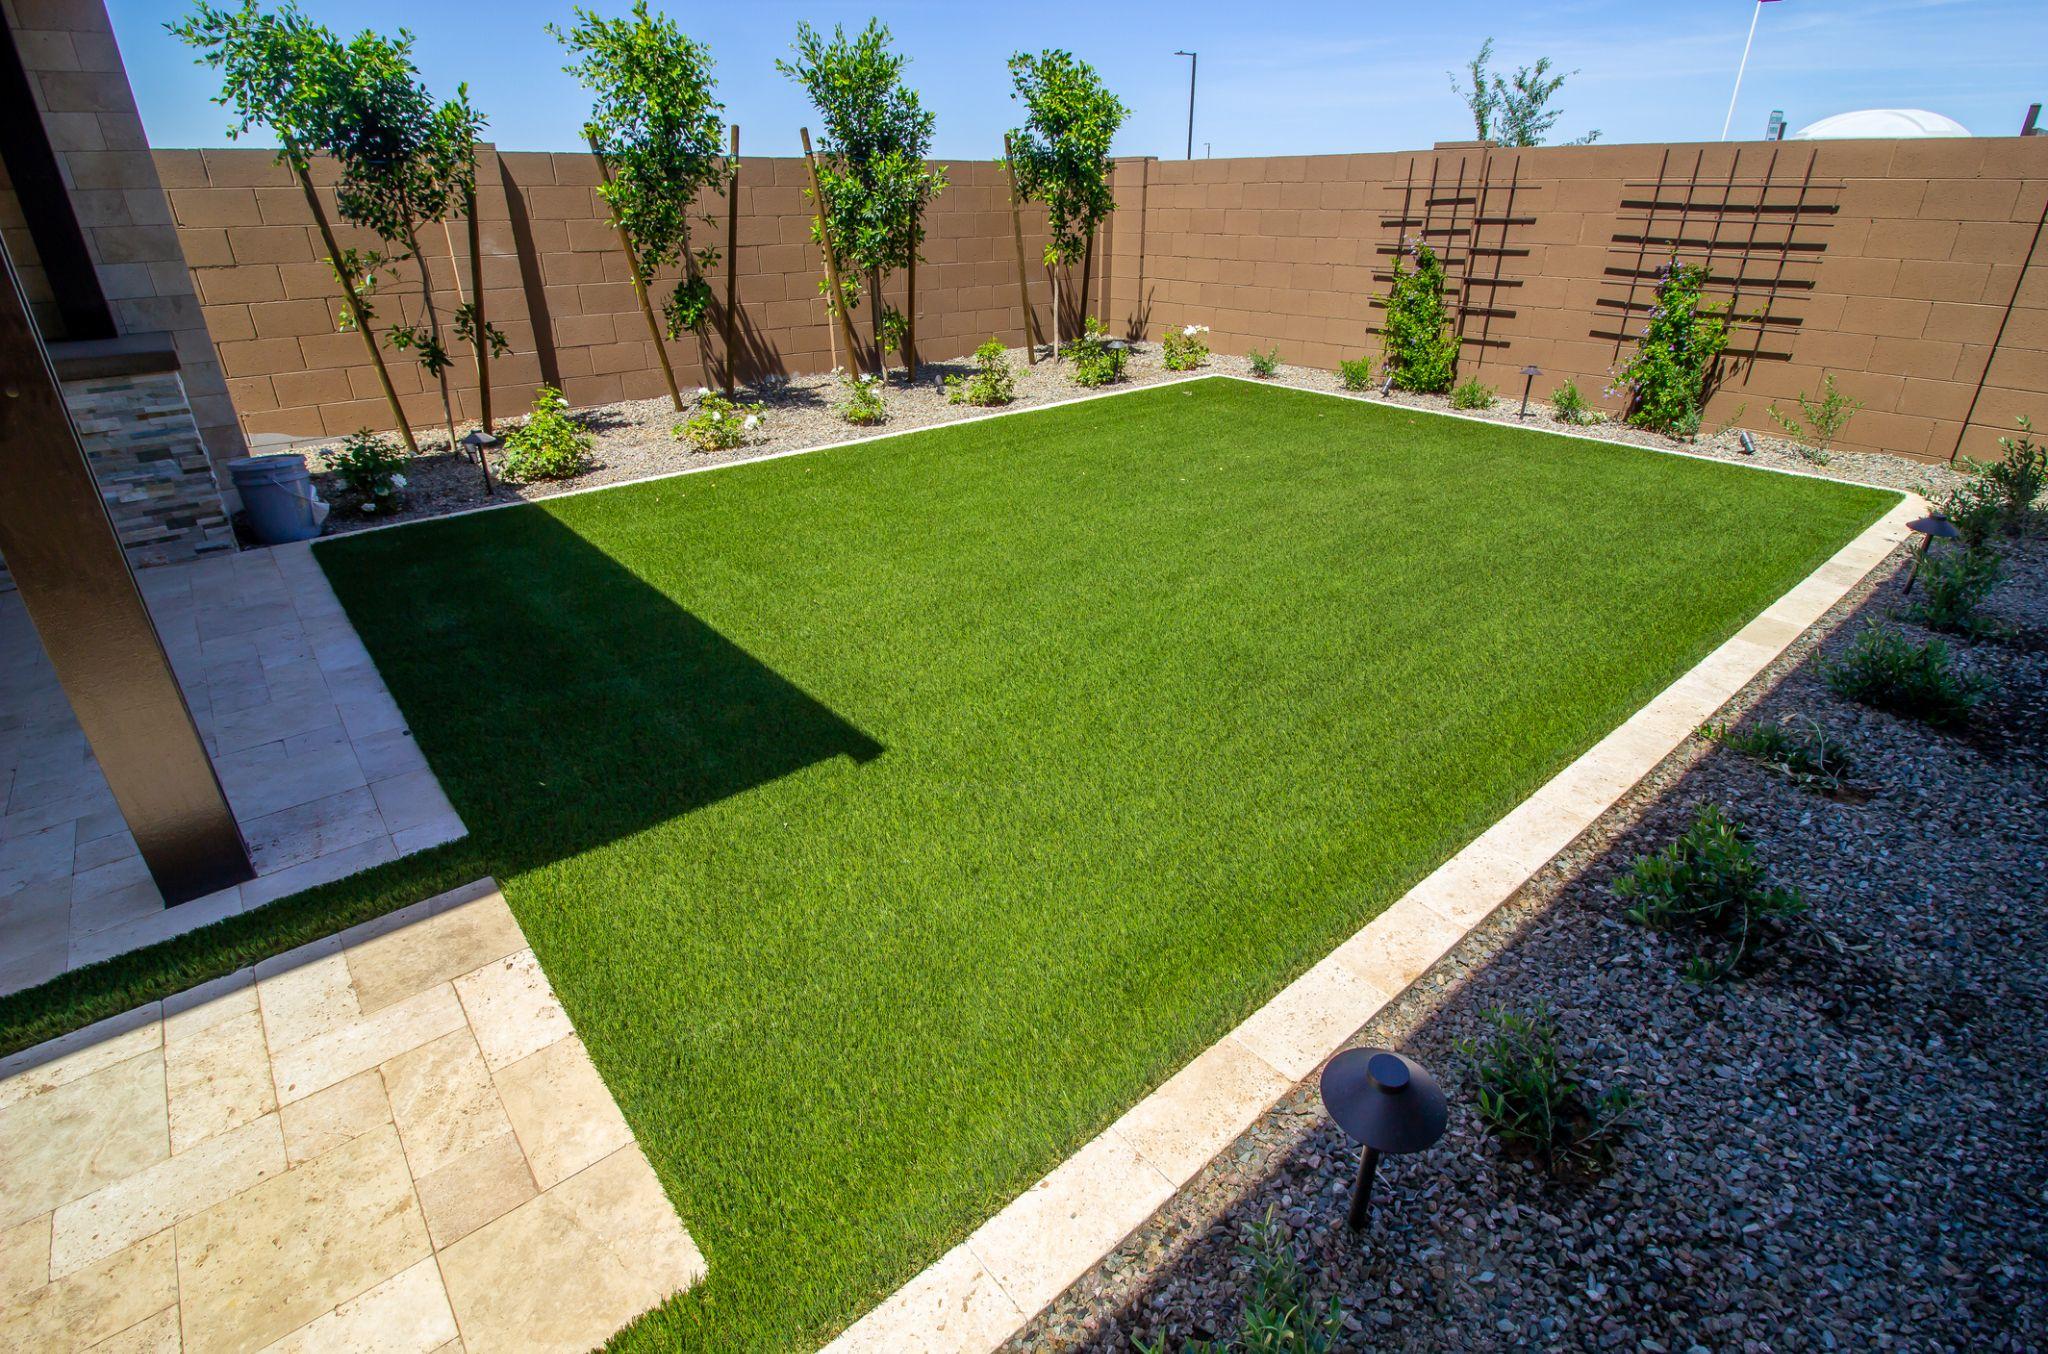
The installer trims the edges to fit around tree wells, pavers, or curved landscapes. The goal is to create a natural look without visible cuts or abrupt edges.
This part of the artificial turf installation process step by step often determines how clean the final result looks. Skilled trimming, proper fastening, and even tension across the surface ensure longevity and visual consistency.
Step 5: Infill, Grooming & The Final Touch

Your turf fibers gain their structure from infill. This material is often a coated sand or rubber, keeps blades upright and helps your lawn feel more natural under your feet.
What Happens During Infill Application
- Even distribution across the entire turf area
- Grooming with power brooms to lift fibers
- Adding layers based on your turf’s design
- Checking turf density for consistency
The infill in artificial grass installation supports cushioning, durability, and heat reduction. It also helps your turf resist matting, especially in high-traffic areas.
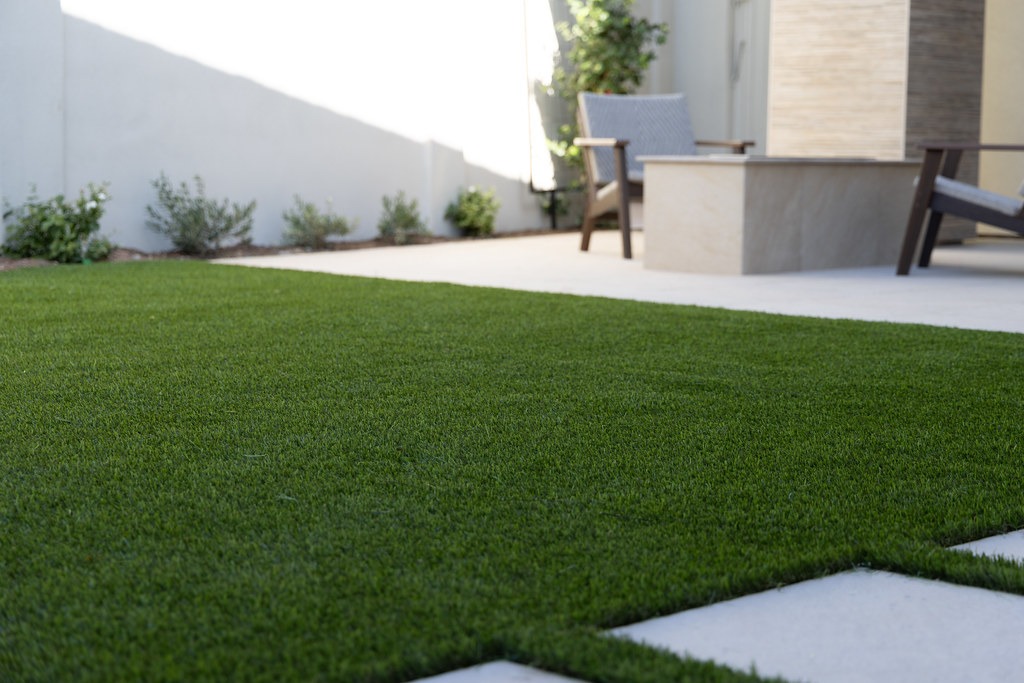
Once brushed and leveled, your lawn begins to take its final appearance. You’ll see the fibers stand upright with a balanced texture. This step marks one of the final phases in the artificial turf installation process step by step and plays a major role in long-term performance.
Step 6: Quality Inspection & Warranty Coverage
Before completing the project, your installer checks every detail. This includes seams, drainage, turf alignment, and edge fastening.
What Your Final Inspection Covers
- Evenness and stability across the surface
- Correct drainage flow
- Properly secured edges
- Uniform infill and grooming
- Clean seams without visible transitions
A professional inspection protects your investment. ForeverLawn of the Carolinas offers a 15-year product warranty and a 2-year installation warranty, rare benefits in the turf industry. Many installers cut corners with rushed timelines or cheaper materials. Because ForeverLawn is part of the Raleigh community, your relationship doesn’t end after installation. You get ongoing support and a company you can trust to stand behind the work.
This final review completes the artificial turf installation process step by step and ensures every part of your lawn meets luxury standards.
How A Pro Installer Vs DIY Impacts Longevity
Many homeowners consider DIY after watching tutorial videos on how to install synthetic turf. While the steps may seem manageable, the difference in results becomes clear over time.
When You Hire A Professional, You Get:
- Turf products chosen for your specific environment
- Proper subbase preparation for durability
- Controlled grading for natural drainage
- Skilled seam joining techniques
- Long-term warranties
- A stable surface designed for daily use
With DIY, Homeowners Often Face:
- Wrinkling or shifting due to low compaction
- Poor drainage from incorrect slopes
- Visible seams or color mismatches
- Faster wear in high-traffic areas
- Repairs without warranty protection
A pro installation follows the artificial turf installation process with trained precision. You receive a lawn built to last, matched to your lifestyle, and supported by a team invested in your community. ForeverLawn’s decade of experience and the national brand’s two-decade history, gives you reliability you won’t find in the race-to-the-bottom installers.
This also affects your turf installation timeline for homeowners. Pros work efficiently without sacrificing detail, ensuring your project meets expectations without cutting corners.
Bringing It All Together
Understanding this artificial turf installation process step by step helps you make informed decisions about your lawn. You now know what goes into preparation, seaming, infill, and long-term care. You also see why professional work matters, luxury lawns rely on thoughtful planning, quality materials, and ongoing support.
You deserve a lawn that feels refined, durable, and tailored to how you live. When every detail is handled with care, your turf becomes a feature you can enjoy every day with confidence and ease. Here’s your next step: get a free consultation.
Summary
This blog reviewed the artificial turf installation process step by step and highlighted the details that matter most for luxury homes. You learned how subbase preparation, synthetic turf drainage systems, seam joining, and infill all contribute to longevity. You also saw how professional installation affects performance, comfort, and long-term value.